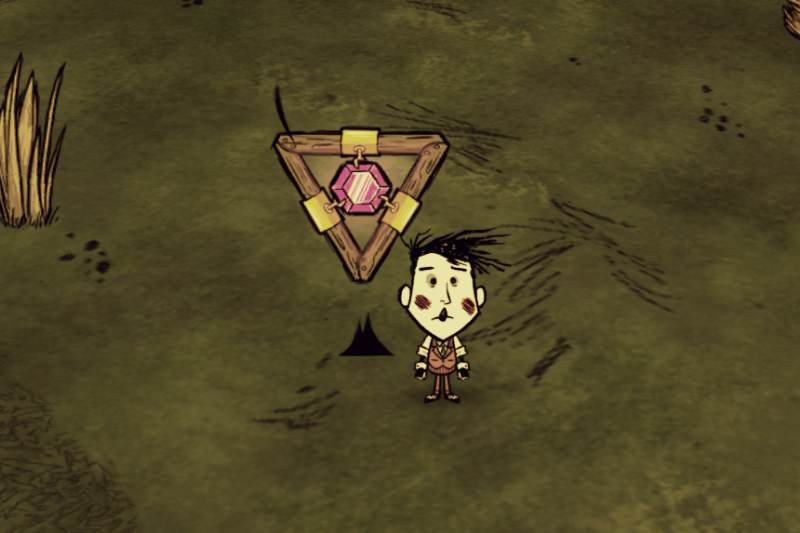
The Shadow Manipulator is a tier-2 Magic station which allows players to craft all Magic tab recipes, even when a Prestihatitator, Piratihatitator and Hogus Porkusator is not present.
As is with all other crafting stations players will receive 15 Sanity whenever they prototype a new recipe.
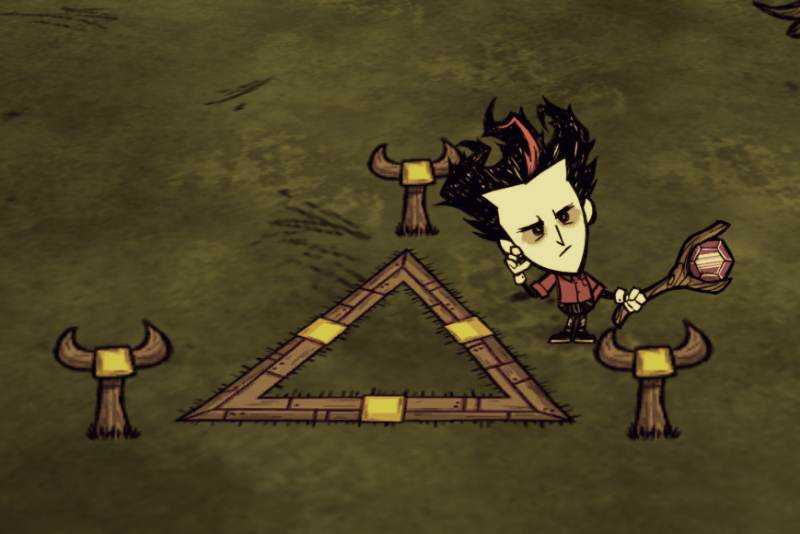
HOW TO CRAFT THE SHADOW MANIPULATOR
In order to craft a Shadow Manipulator, players will need 7 Nightmare Fuel, 3 Living Logs and 1 Purple Gem to prototype.
WHAT CAN I CRAFT USING THE SHADOW MANIPULATOR?
As mentioned, players will have access to all of the Magic tab crafting recipes, though Wickerbottom will also gain access to another one of her books.
Arguably, the crafts players have access to when using a Shadow Manipulator are the best in Don’t Starve without the addition of Ancient Pseudoscience Machine, which requires players to constantly travel to the Caves/Ruins to access.
The following are the recipes players will be able to prototype when using a Shadow Manipulator and which, in my opinion, are the best to craft and prototype first.
DARK SWORD
The Dark Sword requires 5 Nightmare Fuel and 1 Living Log to prototype and is by far one of the best weapons in most versions of Don’t Starve.
The Dark Sword will provide players with 68 damage per hit and has 100 uses, though players should note that while wielding a Dark Sword, even if it is not being used, will reduce a player’s Sanity by 20 per minute.
To avoid losing Sanity, players are encouraged to only hold the Dark Sword when they are about to begin attacking a mob or start farming Shadow Creatures and unwield it as soon as the mob is assassinated.
Dark Swords are especially useful for players who have access to a character who has a damage buff such as Wigfrid and especially Wolfgang.
Players who are playing as Maxwell will have an easier time collecting Nightmare Fuel as he can essentially spawn in a number of Shadow Puppets to keep his Sanity low in order to farm Shadow Creatures.
Players can destroy Shadow Puppets immediately after they are done farming Shadow Creatures in order to take advantage of Maxwell’s insane Sanity gain in order to get some time to heal and prepare for the next battle.
NIGHT ARMOUR
Night Armour requires 6 Nightmare Fuel and 3 Papyrus to prototype and while durable and useful, tends to be a more costly piece of armour to craft.
Night Armour has a moderate durability, coming in at 750 HP in single-player Don’t Starve and 525 HP in Don’t Starve Together.
The best thing about Night Armour is the fact that it will absorb a total of 95% of incoming physical damage, being one of the best pieces of armour players can have in all versions of Don’t Starve.
As is with the Dark Sword, players will lost a total of 10 Sanity per minute while the players is wearing Night Armour.
Unfortunately, players will also convert 10% of their total damage taken into Sanity loss, making Sanity loss a real issue for many newer players.
If players are using Night Armour as their main source of protection, players are recommended to wear a Sanity boosting item such as a Tam o’ Shanter, Top Hat or similar.
BAT BAT
The Bat Bat requires 5 Batilisk Wings, 2 Living Logs and 1 Purple Gem to prototype in single-player Don’t Starve and 3 Batilisk Wings, 2 Living Logs and 1 Purple Gem to prototype in Don’t Starve Together.
The Bat Bat isn’t the most useful weapon to prototype, though players will be happy to note that it is actually a very good weapon if players are in need of Life Steal.
The Bat Bat only deals 42.5 damage per hit, though it has a 6.8 Health life steal for the trade of 3.4 Sanity as long as the player does not have 100% of their health. That being said, the player will still lose Sanity per hit even if they are at 100% health.
The Bat Bat is great when dealing damage to enemies with lower health, such as Spiders and Hounds, though it can also be used against Chester in hopes of the player receiving Health without risking losing any.
Respectively, players will heal a maximum of 510 HP while draining 255 Sanity due to the fact that it has 75 uses.
FIRE STAFF
The Fire Staff requires 2 Nightmare Fuel, 1 Spear and 1 Red Gem to prototype and is the lesser used staff when compared to other Staves, simply because it is not a necessity for players to use.
The Fire Staff essentially provides players with the ability to light Structures and mobs on fire for the trade off of 1 Sanity per cast for a maximum of 20 uses, essentially consuming 5% of the Fire Staff’s durability per cast.
Fire Staves are most notable when players are trying to reduce the health of a strong mob, especially if they are a seasonal giant like the Deerclops, Moose/Goose, Antlion and Bearger, though players must be aware that if a mob is killed by fire damage (even if it is not from the Fire Staff) their drops will be burned into Ashes or the cooked variant of their Meat. Due to this, players should only use the Fire Staff to reduce the health of the mob instead of actually kill the mob.
It should also be noted that mobs will take fire damage over time instead of taking initial damage, meaning that players will have to wait some time before the mob gets low enough on health.
I would strongly recommend having a Fire Staff on hand, especially if you’re a newer player as it can help you successfully take down larger bosses, though this may not be a necessity for veteran players.
TELELOCATOR STAFF
The Telelocator Staff requires 4 Nightmare Fuel, 2 Living Logs and 1 Purple Gem to prototype and provides players with the ability to teleport themselves or any Mob onto a random location on the map.
What’s most shocking about the Telelocator Staff is the fact that it can be used to transport seasonal giants and other bosses onto random locations on the map, essentially allowing players to ignore these mobs instead of dealing with them head on.
If used on a Mob, the Telelocator Staff will summon a bolt of lightning, which has the possibility of setting the mob and nearby Structures or resources on fire, that being said, a player will also be struck by lightning when a Telelocator Staff is used on them making this a fairly reliable way of providing WX-78 players with System Overload.
Unfortunately for a player, they will be struck by lightning in both locations, potentially causing the player to start a fire in both locations.
Players will be able to choose where they teleport to when using a Telelocator Staff by using a Telelocator Focus, though I will cover more on that later.
Oddly enough, the Telelocator Staff cannot be used in the Caves or Ruins, even if a players has a Telelocator Focus.
On it’s own, the Telelocator Staff is most useful for players who are trying to quickly escape a situation. I would recommend using the Telelocator Staff on yourself, though using it on a Mob may be more useful for players who simply do not want to deal with the Mob ever.
The reason I would use a Telelocator Staff on myself is to be able to be aware of where a Mob was left to be able to deal with it later.
It should be noted that when a player uses a Telelocator Staff they will consume 50 Sanity as well as one of 5 uses.
TELELOCATOR FOCUS
The Telelocator Focus requires 8 Gold Nuggets, 4 Living Logs and 4 Nightmare Fuel to prototype and on it’s own does not have any use.
Players must use the Telelocator Focus in tandem with a Telelocator Staff in order to transport themselves or a Mob to the location of the Telelocator Focus.
That being said, a Telelocator Focus also requires players to place 3 Purple Gems into it in order to activate it and once used will consume all 3 Purple Gems.
If players wish to use the Telelocator Focus again, they must refuel the Telelocator Focus with 3 Purple Gems.
Telelocator Focuses are most useful when players want to transport a boss or seasonal giant to a location that has traps already laid out such as Tooth Traps or Bramble Traps.
Players can also pair a Telelocator Staff and Telelocator Focus extremely well when playing Winona as players will want to set up a field of Catapults to essentially be able to deal with all kinds of strong mobs.
It should be noted that some mobs have the tendency to break the Telelocator Focus, the most notable being the Deerclops who has the habit of destroying anything in it’s way.
The moral of the story is, the Telelocator Focus is going to be an expensive toy to keep up and have, so make sure you have lots of resources when you’re planning on crafting and using one because that’s the only way it’s going to be sustainable.
NIGHTMARE AMULET
The Nightmare Amulet requires 6 Gold Nuggets, Nightmare Fuel and 2 Purple Gems and is used to reduce a player’s Sanity while also inducing players with the effects of Insanity without them actually being Insane.
What does that mean exactly? Well, players will be able to begin attacking Shadow Creatures as soon as they put a Nightmare Amulet on and will also lose 3.33 Sanity per minute, essentially allowing a player to continue farming Shadow Creatures beyond the 3 minutes and 12 seconds the Nightmare Amulet’s durability provides.
Players will be happy to note that they will be encumbered by more Shadow Creatures than usual when wearing the Nightmare Amulet and if players have high enough Sanity they will be able to avoid taking damage from Shadow Creatures as soon as they take it off.
Players will also be happy to note that they will be able to farm a good amount of Beard Hair from Beardlings as Rabbits will transform to Beardlings when under the insanity status effect.
Farming Beard Hair is most notable when players are in single-player as they will be able to produce a number of Meat Effigies in hopes of ensuring that they always have a way to respawn after dying.
As players can assume, the Nightmare Amulet is best used when players are using Maxwell as players will be able to regenerate Sanity immediately after the they take the Nightmare Amulet off.
Players will be happy to note that they will be able to get about 20-24 Nightmare Fuel from using a single Nightmare Amulet.
If players are on the Lunar Island or experiencing Lunacy, they can reduce these effects by wearing a Nightmare Amulet.
BELT OF HUNGER
The Belt of Hunger requires 6 Slurper Pelts, 2 Ropes and 2 Nightmare Fuel to prototype and is one of the best pieces of gear players can craft when playing a character that loses Hunger faster such as Wolfgang or Wes as it will reduce a player’s Hunger level by 40%.
Players may also want to use the Belt of Hunger on Wigfrid as she can only eat Meat items which can be more difficult to farm, especially if players are on getting used to kiting patterns.
Belts of Hunger last for a total of 8 days and will also provide players with 2 Sanity per minute, though players will want to make sure that they use a Sewing Kit on this epic item as in single-player Slurpers will not respawn, though Don’t Starve Together players will be happy to note that they will be able to regularly farm Slurpers.
SEAWORTHY (SINGLE-PLAYER)
The Seaworthy requires 4 Living Logs, 4 Nightmare Fuel and 1 Sea Worther to prototype and will provide players access into a Shipwrecked world, even if there is no Shipwrecked world initially connected to the single-player Reign of Giants world.
In order to obtain a Sea Worther, players must hammer a Sunken Boat, though players can also fish near a Flotsam in order to have a 4.36% chance to receive a Sea Worther.
The Seaworthy will give players the option to enter a new Shipwrecked world or to return to a previously explored Shipwrecked world.
Players may want to note that they may be entering a whole different season in SW meaning that they may need to have different clothing available to them to protect themselves from Overheating or Freezing.
SKYWORTHY
The Skyworthy requires 4 Nightmare Fuel, 4 Living Logs and 1 Can of Silly String to prototype.
The Skyworthy is essentially the Hamlet equivalent to the Seaworthy.
In order for players to obtain a Can of Silly String, players must hammer a Wicker Basket or locate it in the Royal Gallery.
Similar to the Seaworthy, players will have the ability to bounce between worlds and will have the option start a new HAM world or play in an already explored version of HAM.
PUGALISK WAND (HAMLET)
The Pugalisk Wand requires 2 Nightmare Fuel, 1 Bone Shard and 1 Pugalisk Skull to prototype and provides players with the ability to shoot hypnotic rays in order to freeze Mobs.
Players will have to direct the hypnotics projectiles using their mouse and will be able to use the Pugalisk Wand indefinitely for a maximum of 4 minutes, though players should note that the Pugalisk Wand will begin rotting as soon as it is crafted, meaning players will only want to craft it as soon as they want to start using it.
If players wish to craft multiple Pugalisk Wands at a time they should bundle it using Bundling Wrap as doing so will keep it indefinitely fresh.
Upon fully rotting the Pugalisk Wand will return the player one Bone Shard.
CLEAN SWEEPER (DON’T STARVE TOGETHER)
The Clean Sweeper requires 6 Dark Petals and 3 Living Logs to prototype and provides players with the ability to change the skin of any item or Structure as long as a player has skins for the Structure or item.
The Clean Sweeper is a great item to have on hand, especially for players who have recently accessed or crafted a new skin as it means that the player will not have to waste any resources to craft another version of the item or Structure.
It can especially be useful for players on public servers as there are higher odds that a player will have different skins than you. Nothing makes me happier than being able to ask another player for a new Lantern skin or a hat.
The Clean Sweeper is also the only way for players to re-skin uncraftable items such as the Tam o’Shanter or the Krampus Sack.
It should also be noted that the Clean Sweeper is the only way for players to cycle through Wilson and Webber’s beards.
BOOKS
As mentioned earlier, Wickerbottom will gain access to her final Book when standing next to a Shadow Manipulator.
At this point the only book left is The End is Nigh! which will essentially provide players with the ability to spawn in 16 Lightning strikes.
The End is Nigh! requires 2 Papyrus and 1 Red Gem to prototype and is a fairly resourceful book to have on hand as if will allow players to damage mobs quickly and can also be used to cause WX-78 players to gain System Overload in case they have n o other ways of getting it.
In most cases, players will pair up The End is Nigh! with Birds of the World as doing so will both kill the birds and provide players with Cooked Morsels, which can come in handy for snacking on or using in Crock Pot dishes.
It should be noted that The End is Nigh! only has 5 uses and will summon Lightning in a 3 to 5 radius.
It should also be noted that The End is Nigh! will cause Wickerbottom players to lose 33 Sanity per use.
Leave a Reply