In one of the most recent updates we saw in Punball, the Habby Team introduced Artifacts which are essentially powers that can be used a single time per Stage in the game.
While at first, I was skeptical about Artifacts, simply because of their single-use mechanic, I’m really glad that I rolled for over 150 of these bad boys since it gave me a lot of space to play with different tactics and really made the Ruins easier to complete quickly as your Artifacts are the only real strength in these Events.
The nice thing about Artifacts is that they are especially useful for regular Stages, providing players with many ways of saving themselves in clutch situations, especially with Stages that they would have previously been outranked for.
While the consensus on playing Punball is that players need to avoid ranking too high so they don’t get locked out of Events or Punball, the reality is that there are many different game modes that will benefit from a player having good Artifacts, especially if players are trying to save time completing their dailies and farming out previous content for loot.
Though at the end of the day, Gear is going to be the most essential resource to get, I wouldn’t avoid rolling on special Artifacts as all of them are good to have for your safety in Stages.
The following guide will take you through all of the Artifacts that are available to players and which ones I would recommend using and in which situations you’d want to use each Artifact in.
HOW DO YOU GET ARTIFACTS
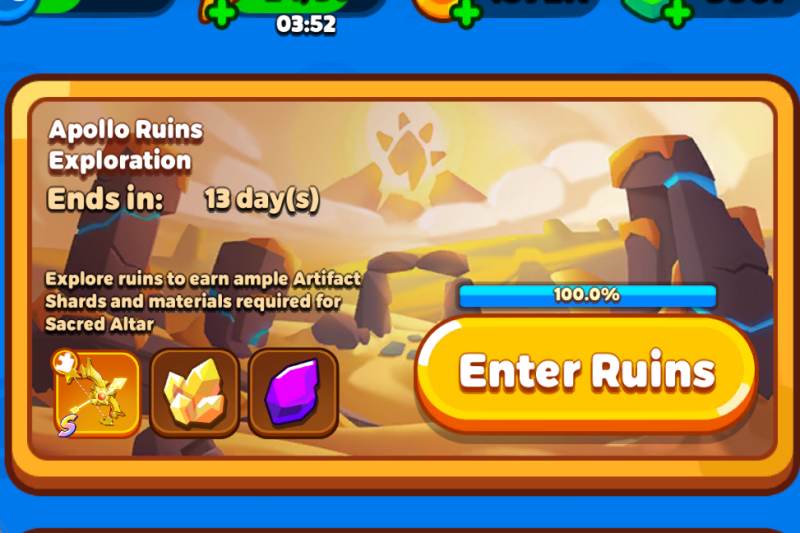
There are only two ways to get Artifacts currently, being completing the Ruins and rolling for them in the machines.
While completing the Ruins can provide players with some pieces of Artifacts, the reality is that players will not get enough shards to really be able to do anything with the Artifacts. I strongly recommend that players roll on special Artifact machines whenever they are available, aiming to roll at least 50 times for each, though different machines will be much more useful than others.
I would never roll on an Artifact machine if you don’t have enough Gems to roll 50 rolls, meaning that players will need at least 11,000 Gems before they roll on the Artifact Machine.
I would recommend against rolling on the regular Artifact Machine as the chances of getting an S Rank Artifact are a lot lower, but if you have missed the Artifact Machine and are struggling in the Ruins, this might be the only option for you.
HOW DO YOU USE ARTIFACTS?
I have to admit, I was a bit dumb when I first acquired Artifacts and thought that they would activate on their own, but the reality is that players will have to select an Artifact while in a Stage in order to use it.
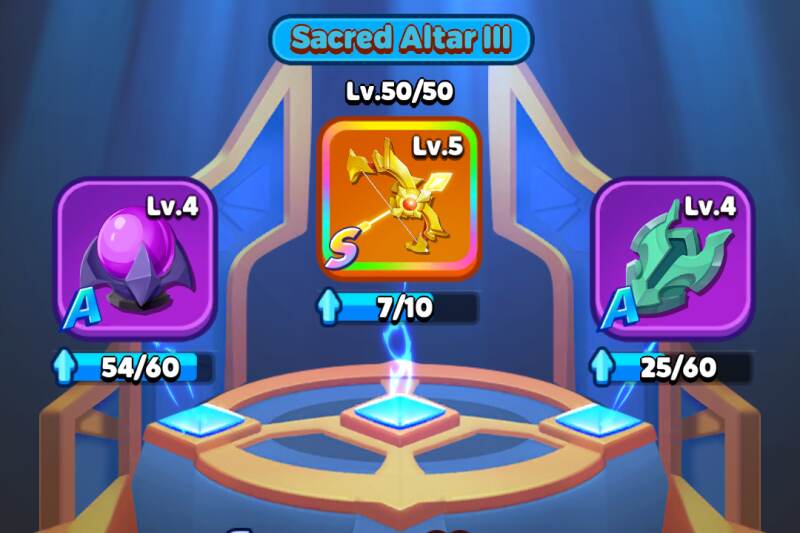
Artifacts can only be used once per Stage, unless their Sacred Altar is upgraded enough, but players will be able to use multiple Artifacts at the same time, being extremely useful for players in sticky situations.
Upon selecting an Artifact, players will see the area they must tap in order to properly activate it. Defensive Artifacts will not require a player to click anywhere, however, Artifacts that are bound to damage specific mobs will require the player to click on the mob (or the center mob if it is a square) and damage modifying Artifacts will require the player to click on the character.
Players should note, that they will not be able to use an Artifact if they have started aiming and will not be able to de-select an Artifact once they have selected it.
WHAT DOES LEVELLING UP AN ARTIFACT DO?
Levelling up Artifacts will increase its stats. If the Artifact deals damage, it will deal more damage and if the Artifact Heals or Shields it will heal or shield more HP.
There are no resources required to level up an Artifact, so anytime an upgrade is available I strongly taking it even if you don’t plan on using the Artifact. There is really no negative to levelling up Artifacts.
WHAT ARE THE BEST ARTIFACTS?
Although the reality is that players will have different preferences between which Artifacts they run, the bigger reality is that some Artifacts see a lot more use than others. Artifacts tend to fill in the spaces where a player struggles, and in most cases, players are going to want to use whichever Artifacts they have levelled up the most. Now, with that being said, players will have to alternate their Artifacts and Pets in the Ruins, since some Artifacts will be a lot more useful depending on what the map looks like.
Players will want to start a Ruins Stage and get to know the map as sometimes an Artifact can make or break the player’s survival. The same 3 tend to be used in the Trial Towers and the regular Stages though.
ELVEN LONGBOW
Honestly, I hate the idea of the Elven Longbow, but that’s just because I have a very good Apollo’s Bow.
I really can’t think of a time that you will want to use the Elven Longbow, even if you have a lower levelled Apollo’s Bow as the Elven Longbow will only increase the aiming line, but will not provide you with more damage.
Always take the Apollo’s Bow when you need to see your trajectory, but scrap the Elven Bow.
By default the Elven Bow shows 100% more of the trajectory, however, this will be increased as you level it up.
WARHORN
The Warhorn is a great Artifact to use as it will provide you with more damage, however, I can’t say that I use it ever because I like the actives of the other Artifacts more.
Warhorn is the best when stacked with other Artifacts as you can really boost your damage, however, on its own, it doesn’t really… well it doesn’t seem worth using.
If you’re in a situation where you need burst damage to get through a Ruins run, go for it, but in regular Stages you won’t really use it.
By default the Warhorn will allow you to deal 50% more damage for the round, however, when levelled up you should be able to deal more damage.
DRAGONFANG NECKLACE
The Dragonfang Necklace is a pretty specific type of Artifact and I’ve only really seen use for it in the Ruins, though I’m sure players can benefit from it in regular Stages.
With the Dragonfang Necklace, players will be able to increase the damage of their Pets by 20% and cooldown all of their skills by 5 Rounds.
This can be very useful if you have a Pet that you require to deal damage immediately, such as the Jungle Boar or if you require Healing and have it with no other way, such as the Octopus.
I’ve used the Dragonfang Necklace mostly in Ruins situations where I need to damage a hoard of enemies from behind using the Jungle Boar, though I haven’t really found a use for it in any other Stages.
When levelled up the Dragonfang Necklace will increase the damage of Pets by more.

GRAIL OF LIFE
The Grail of Life can be pretty powerful, especially when players are struggling with keeping their Health up. By default, the Grail of Life will restore 10% of the player’s Maximum Health per round for a maximum of 4 Rounds.
Although this may not seem like a great Artifact to have, it can be great with Octopus or if players do not have Octopus this can really help boost your Health between rounds.
I don’t think that the Grail of Life is the best Artifact to run and I only use it in situations where I really need that extra Health to survive, meaning that I don’t typically take it in regular Stages or Trial Towers, however, I do sometimes take it into the Ruins.
Levelling up the Grail of life will increase how much Health you heal per round, but will always last only 4 Rounds.
EMBERWING SWORD
The Emberwing Sword is quite a great Artifact, though it is a lot less useful now that there is a new Artifact available.
Admittedly, sometimes Emberwing Sword is better for players to use, especially if they have it levelled up significantly, but I’m not the biggest can of 3×3 limitations, especially on Stages that have a lot of walls in them.
The Emberwing Sword will deal 2500% Attack damage to a 3×3 block, though when upgraded it will deal much more damage.
I would use this in regular Stages before using it in the Ruins, though I would only use it if it is one of the Artifacts you have the most of.
DEATHSCYTHE
The ranking of the Deathscythe is going to be based on what it is you’re trying to do. Admittedly, you don’t see much use for it in regular Stages, unless you are using it to get the final shot on bosses, however, it sees a lot of use in the Mecha-Racoon Clash.
The Deathscythe deals a whopping 15,000% damage to a single selected mob, essentially guaranteeing the death of the mob (as long as the player is not outranked.)
I typically only take this for the Mecha-Racoon, though due to its very high damage I can see it being utilized by other places for progression content for players who aren’t worried about pushing the difficulty of the game.
Levelling up the Deathscythe will increase the amount of damage it can deal to a single enemy. This is honestly awesome for the situations where you are too out levelled, especially in Clash.
LANCEBORE SPEAR
It might seem weird that I rank the Lancebore Spear higher than the Emberwing Sword, but I have to say the utility of this Artifact is much better as players will deal 5000% Attack Damage to all Monsters in a single column.
Depending on how much damage you’re able to deal, you may be able to actually clear out all Monsters in this column, allowing you to shoot your balls through the column to get behind enemies.
I really, really like this because I sometimes get stuck with too many mobs, especially when there are too many Summoners on the field that I cannot target.
The Lancerbore Spear also sees a good amount of use in the Ruins, so if you’re struggling with Stages that have too many mobs in a single column, grab this bad boy.
Though in the later stages, it may be difficult to kill all Monsters in one sweep, with higher levels on your Lancebore Spear you should be able to fix this. Each level of the Lancebore Spear will increase the amount of damage it deals to enemies.
SKYSHOT ARROW
I’m honestly such a huge fan of Skyshot Arrow, but specifically for Ruins runs as when it is upgraded quite a bit you can actually clear the first Floor simply by using Skyshot Arrow.
I don’t typically take Skyshot Arrow into any other content, but it is ever useful in the Ruins.
Whenever you have lines of enemies with very little chance of bouncing your balls properly through the map, grab Skyshot Arrow, you will thank me.
Skyshot Arrow will shoot 50 arrows randomly dealing 450% Attack Damage each, though when players level this up they will deal a lot more damage with them.
ILLUSIVE ORB
The Illusive Orb is by far one of my favourite Artifacts in the game as it will allow players to shoot out 3 lines of balls.
The Shadow Balls caused by the Illusive Orb are shot in a V formation, so they can be difficult to aim, however, they will deal 15% of the original ball’s damage and will keep the original ball’s traits, so get ready to deal a great amount of damage and potentially clear out big groups of mobs, especially if you have a space to clear and Gear that will cause balls to spawn when enemies are killed.
I always run with Illusive Orb unless I need another Artifact to take its place, otherwise Illusive Orb is quite powerful and useful.
Levelling up Illusive Orb will provide Shadow Balls with more damage.
VERDRIGON SHIELD
An Artifact I never start a Stage without is the Verdrigon Shield. It doesn’t matter what content I’m trying to complete, it’s always very useful and can really help protect you even if you already have a good amount of Health.
With the Verdrigon Shield players can protect themselves for 3 rounds as they will gain a shield with 200% of their Maximum Health.
Admittedly, sometimes this shield breaks before a player is ready for it to break, but this typically only happens if a player has progressed too far in the main Stages. Players should always take the Verdrigon Shield, no matter what content they are completing, though it is the most useful in the Mecha-Racoon Punball rank.
I strongly recommend using the Verdrigon Shield in tandem with the Octopus Pet as players can ensure that they defend themselves long enough for the Octopus to recharge and be ready to heal the players upon dodging.
This is by far the best use of the shield.
Levelling up the Verdrigon Shield will simply provide players with a larger shield based on their maximum Health, though it will still only last a maximum of 3 turns.
#1. APOLLO’S BOW
When activated players will see an extended line when they aim. This will help players ensure that they know where the balls will go once they bounce off walls or other mobs. By default the line will be extended by 100% and players will deal 50% more damage, though when levelled up players will get to see the further trajectory of the balls and will be able to increase the damage they deal.
I absolutely love the Apollo’s Bow and think that it’s the best Artifact in the game as it can help a player figure out how to damage an enemy as many times as possible. This is especially useful if players are able to force the Mecha-Racoon to come out of its shell. If players are able to successfully do this, they will be able to damage the Racoon with more specificity, hopefully landing a couple of Million damage on him.
Leave a Reply