At the moment Kirby and the Forgotten Land is by far one of my favourite games to play, especially as I am no stranger to the franchise and absolutely have adored every game I’ve played (except for Tilt ‘n’ Tumble.)
Kirby and the Forgotten Land comes with a plethora of new abilities to try, including upgrades for these abilities as well as a new Mouthful Mode that allows players to use large objects to get around and acquire new skills.
While I began my journey streaming this game on Twitch, I have since started playing this game on my own as I made it my goal to completely 100% the game, which seems to be a common theme with me when it comes to Kirby games.
In general, I find Kirby games to be quite simple, having staple mechanics I can always rely on and being someone who is well versed in the many abilities that are available to him. Though this is true, I have to say that Kirby and the Forgotten Land has flipped the script for me, providing me with new challenges and having me think about the many tactics I need to complete in order to finish all of the Missions.
Speaking of Missions, they are new to the franchise, actually allowing players to know what it is they need to complete in order to get 100% and I’m going to say… they are top notch!
Throughout levels players can try to search for the hidden Missions, however, if a player completes a level without completing all the Missions one will be revealed, enticing players to come back and repeat that level and giving them a tip of what it is they need to look for in order to get closer to their 100% goal.
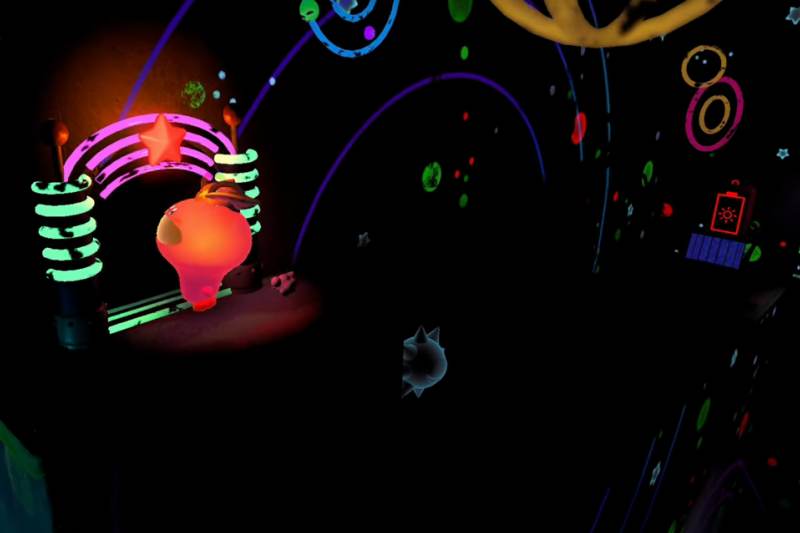
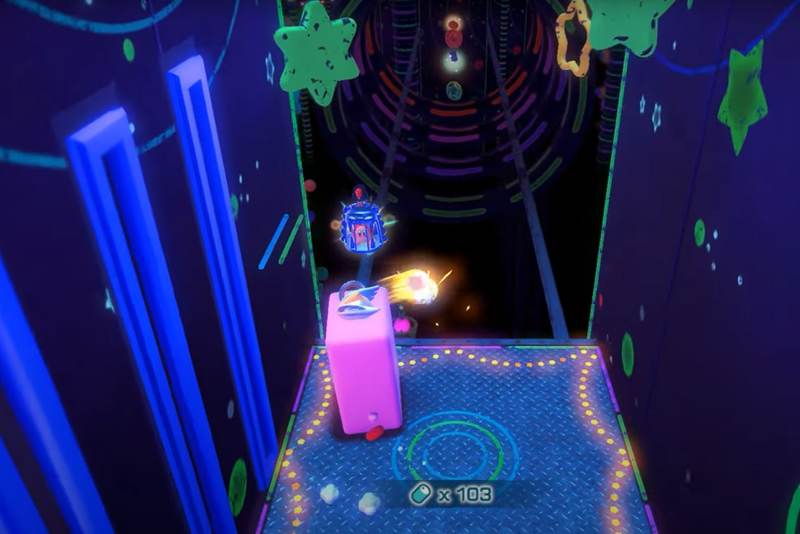
I’m going to say it outright, I somewhat struggled with the Invasion at the House of Horrors missions as I’m not the biggest fan of the Lightbulb Mouthful Mode. If you know anything about me, it’s the fact that I struggle to see in general and when games are dark I struggle even harder. I found myself illuminating the map repeatedly, even if I was in danger from it because I simply couldn’t see with the low glow that is available to players when they are not fully lit.
Though this was the case, I am happy to report I secured a 100% complete and the following guide will let you know how I did that and what Capsules I located along the way.
0:00 Introduction
0:26 Hidden Snack #1
2:07 Waddle Dee #1
3:55 Capsule #1
4:23 Capsule #2
5:20 Waddle Dee #2
8:53 Waddle Dee #3
9:42 Hidden Snack #2
11:03 Capsule #3
11:40 Hidden Snack #3
11:59 Time Crash Blueprint
12:35 Destroy 13 aliens by using Vending Mouth
13:30 Waddle Dee #4
CLEAR STAGE
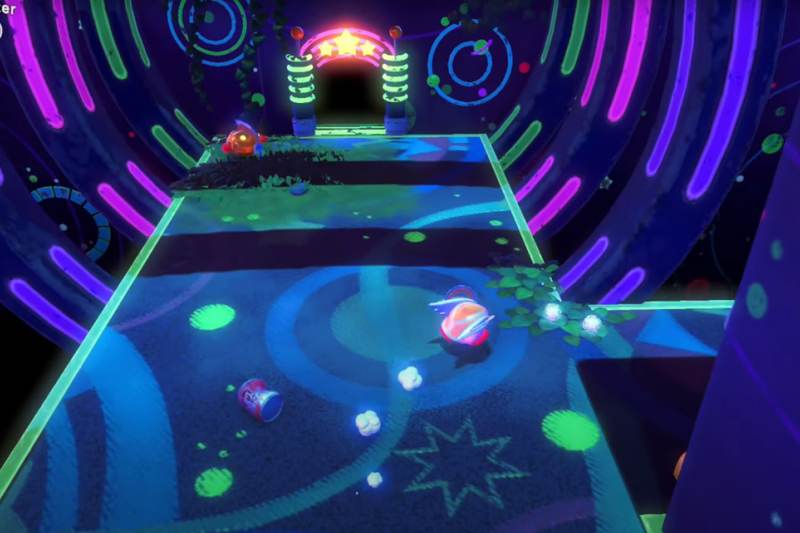
As is with all stages in this game, players will receive a total of 3 Waddle Dees simply for finishing the level. I’ll have to be honest and say that I won’t blame you if you don’t get all of the Missions in this one as this map is a bit frustrating and if you’re not aware of all of them or their locations… well you may not want to spend a whole lot of time on this map.
I personally ended up sticking through with this map until I finished all the Missions, but let me tell you… this level took me the longest to complete out of all levels in the same area. When I tell you I hate the Lightbulb, I hate the darned Lightbulb!
SAVE THE HIDDEN WADDLE DEES
While the Waddle Dees are in fairly obvious locations (now that I’ve gone through the map) I have to say that a few of them are in quite annoying areas. I truthfully don’t blame players who were unable to successfully get them all in their first run as there are a few of them that will require you to explore a lot as the Lightbulb.
It’s obviously no secret by now, but I hated the part with the Lightbulb as I hate being in the darkness, but nonetheless, I’m happy to share all the locations with you.
WADDLE DEE #1
The first Waddle Dee is located right after players make it across the falling platforms, just beyond the area where the two blue Aliens pop out to scare you.
Players will have to head to the right, just behind where the blue Aliens popped out as there is a semi obvious pathway to walk down.
Here players will have to rescue the Waddle Dee from a box, though the box will switch between a Spike mob and the Waddle Dee. Make sure you time your attack correctly and smack the box when the Waddle Dee is displayed.
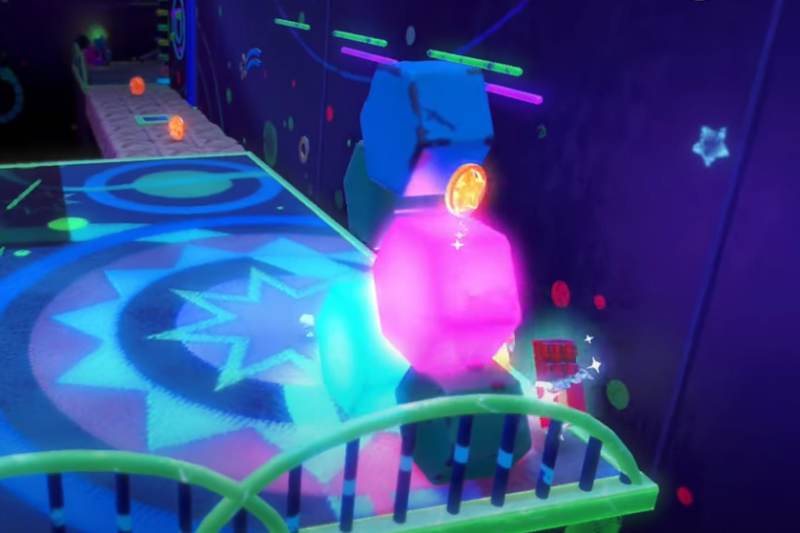
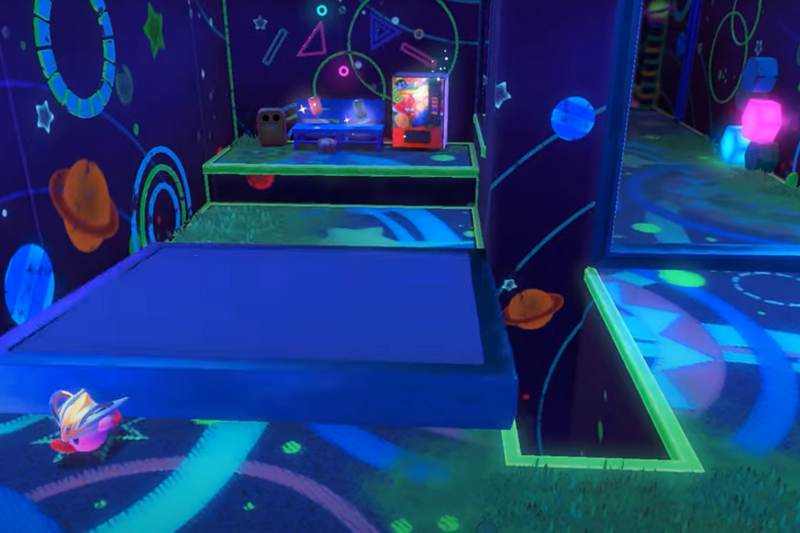
WADDLE DEE #2
Right before players reach the final solar panel in the area that pulls out three platforms that players must jump up, players must turn around a bit as there are actually platforms behind you that lead to a door.
Players may see a piece of food chilling at the top of the the first set of platforms and then will have to jump across the abyss to the door.
If this is a player’s first run through of the level and they are attempting to get the Clear Without Touching any Ghosts Goros achievement they are going to have to make sure they don’t fall into the hole.
Inside of here players will have to break a box when the Waddle Dee appears.
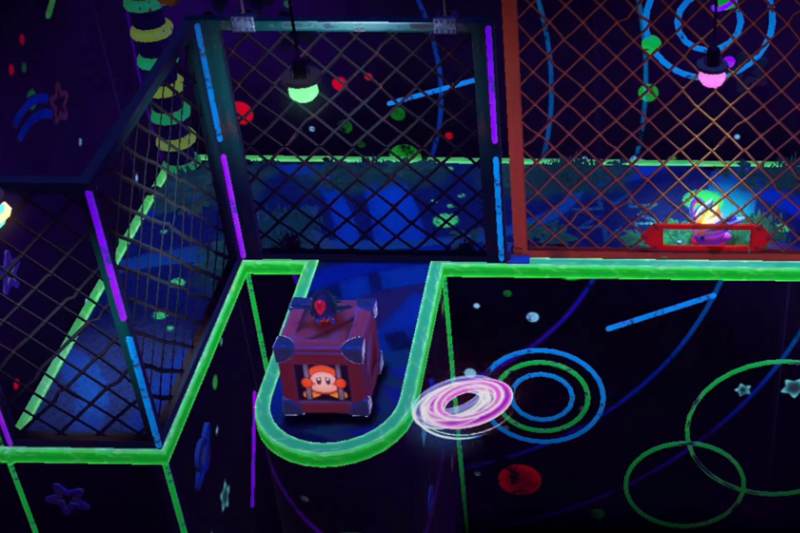
I may have been a bit dumb in my YouTube video and didn’t realize that players can throw their ability forward and keep holding B while running to the left hand side so it breaks the box immediately.
As you can see in the image above and in my video, I ended up breaking the box simply by finding the right angle to hit the box. Please don’t take by my example, this takes WAY too long.
WADDLE DEE #3
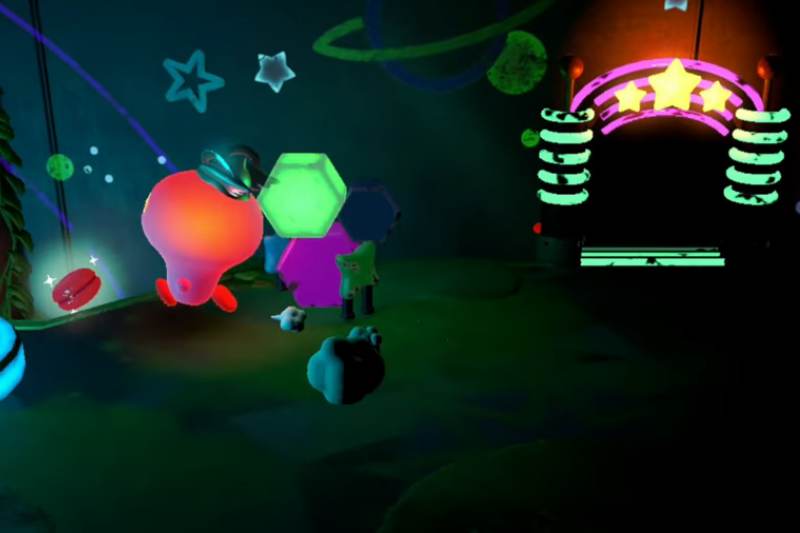
After players jump up the planforms that are raised from the Solar Panel (the timed ones) players will see a door with three stars on it, don’t take this door yet!
Instead head to the right of the room to the front and there’s a hidden path here.
Keep heading right until you see another Solar Panel and light it to release the third Waddle Dee.
Players have to be aware that lightning up this Solar Panel will make Ghost Gordos come closer to you, make sure you stop glowing as soon as you can to avoid taking damage from them.
WADDLE DEE #4
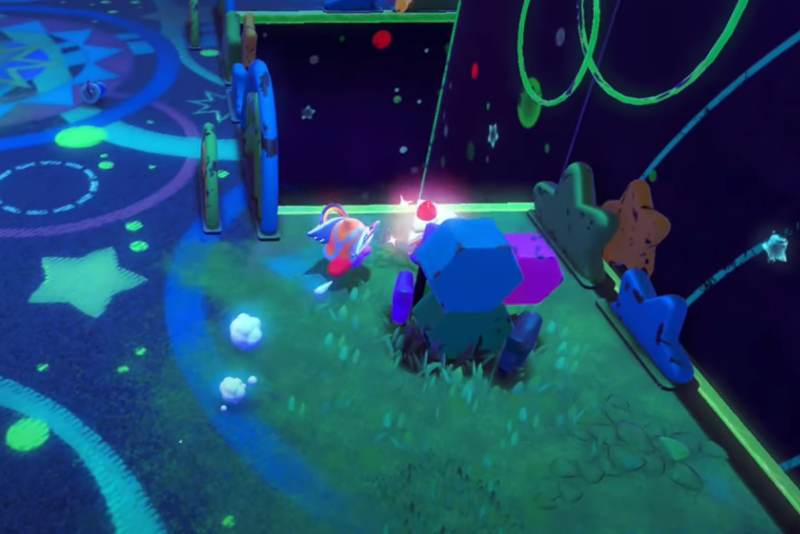
When players are on the moving platforms as a Vending Machine players will see three Aliens pop up right at the end. Players will have to destroy all three while using Vending Mouth to reveal a Waddle Dee.
Players may see this Waddle Dee before the Aliens appear.
All that matters here is that you’re quick at destroying the Aliens as if you don’t do it in time you will not get the Waddle Dee.
CLEAR WITHOUT TOUCHING ANY GHOST GORDOS
The final Mission is hidden until the very end of the map and requires you to avoid taking damage from any of the Ghost Gordos
These are the Ghost Spikes and can simply be avoided if players do not illuminate near them.
Similar to some other mobs in the game, the Ghost Gordo will only be attracted to Kirby under specific circumstances and this one is illumination.
EAT 3 OF THE GHOSTS’ HIDDEN SNACKS
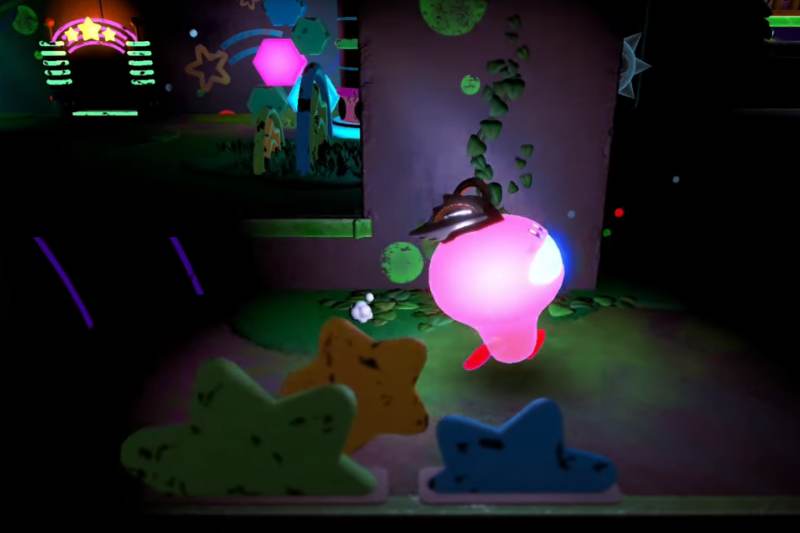
I’ll be honest, I’m a huge fan of the hidden Snacks quests as it means that players can receive some extra healing along their journeys in the map.
The Hidden Snacks in the Invasion at the House of Horrors are actually not the hardest to locate, though there are a few that may be missed by players due to the fact that they are tucked into corners.
SNACK #1
In the first area of the map players will have to locate the first snack. After players pass the orange alien they will need to kill a number of mobs to continue passing.
Players will pass a Green Alien and here in the corner of the room is the first hidden Snack.
SNACK #2
Before players enter the door with the three stars players will have to head to the left of the room to grab a burger which is out in the open. Players should not be able to miss this one and I wouldn’t be surprised if this is the first Snack that most players grab if they don’t notice the first one.
SNACK #3
After players collect the third Capsule they will be up against a hoard of enemies. Behind these enemies to the right is another snack hiding behind a set piece. Make sure you grab it before you head to the next area.
DESTROY 13 ALIENS BY USING VENDING MOUTH
After players locate the third Hidden Snack and receive the Time Crash Blueprint they will reach an area with a false wall and a real opening.
Players are going to want to head to the left to make the false wall crash as there is a Vending Machine behind it.
Use this Vending Machine while you are the moving platform and quickly destroy all the Aliens that pop out from the wall. Players will need to be quick about this as if they miss one they risk not getting this Mission.
It is relatively easy and simple to do, though players may have some difficulty if they don’t have the best high eye co-ordination.
CAPSULE LOCATIONS

CAPSULE #1
After players receive the Light-Bulb Mouth they are going to need to power up different Solar Panels in order to raise platforms. Players will be able to locate this capsule after they locate the first Waddle Dee.
It is on the right of the area and players will have to jump on a platform to dodge falling off the world and to get the platform.
The platform is a U shape with the middle being the shortest, the back being slightly higher and the front (closest to the orange alien) being the highest. Players will jump on the back of the U in order to get the capsule as the front is too high.

CAPSULE #2
After players grab the second Capsule they are going to have to go down a path that has a ghost that follows you any time you illuminate the Lightbulb Mouth.
While players will have to turn to the left in order to continue through the level, players can head forward in order to find a Solar Panel that they can light in order to raise a platform that has the second Capsule.
I would strongly suggest that players always head here even if they are repeating the level as there are a lot of Star Coins there.

CAPSULE #3
As players go through the world they will begin discovering fake walls. After the first wall drops, players will have to head to the right in order to climb the real ladder.
At the top of the platform players will locate the third Capsule which is in plain sight.

TIME CRASH BLUEPRINT
I’ll be honest, I’m a big surprised that I found this Blueprint because normally I don’t see things in the corner of my eye, but after players grab the third Snack they will have to fly off the platform with the steps into a small little hole. I honestly only noticed this because I saw a Star Coin spinning and yelled “oh shiny!”
Here there’s a short pathway that the player must follow in order to get the Time Crash ability.
Note, this is right before the Vending Machine area, so if you see a Vending machine turn back a bit and it’s to the left of you.
Leave a Reply