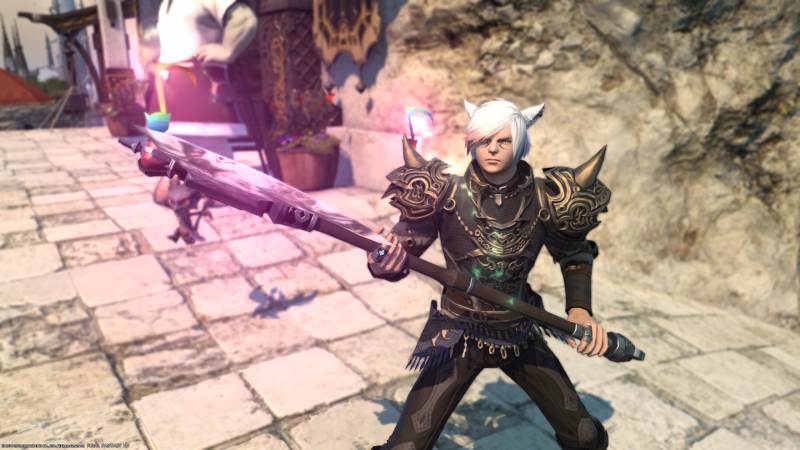
When it comes to playing Final Fantasy 14, I like to think of myself as an atypical player who really likes focusing on side quests rather than Raiding or trying to get through Savage/Expert content.
While there is a good portion of “end-game” content that I enjoy and will actually strive to complete, the majority of my time goes into grinding Mounts, Minions and shiny Weapons which are obtained from odd places in the game. For me, this means that I tend to focus on things like the Beast Tribes, Eureka and Bojza.
Although many aspects to Bojza are very straight forward, there are a few that are a bit confusing, especially as a player progresses further into Bojza, one of these aspects being Mettle.
Mettle has a few purposes in Bojza and in the early game is essentially the way that a player that a player levels up their Resistance Rank. However, Mettle can be used for more than a Resistance Rank in the later stages of Bozja.
The following guide will take you through everything you need to know about Mettle in Bojza.
Note: If you have any questions about FFXIV that you want me to cover feel free to leave them in a comment below, you can also ask me while I am streaming on Twitch, YouTube or in our community discord.
HOW TO OBTAIN METTLE
Mettle is a resource that is collected passively after completing Skrimishes or Critical Engagements in any area of Bojza.
Unlike Eureka, players will not be able to level up their Jobs outside of Skrimishes or Critical Engagements, meaning that players will not be rewarded as much for trying to collect resources like Bozjan Clusters or Forgotten Fragments. While this is a bit of a set back, the reality is that players are able to very quickly farm Mettle especially if they are in parties of 8.
I strongly recommend that players /shout “LFG (& the Zone they want to farm)” in order to quickly find a group as farming Bozja alone in the early game tends to be rough and admittedly is not even advised in the late game.
If players are farming in a group they will not need to deal as much damage in order to get a Gold Rank or a Skrimish or Critical Engagement as their group damage also ties into their ranking. This is not a statement to encourage AFKing, however it will help when either of these are completed too quickly or when players are simply not strong enough for solo battles.
it is strongly advised that players always grind the hardest zone they have access to as this will provide them with the most Mettle. I would also strongly advise that players enter any Critical Engagement that is offered to them as these provide players with a substantial amount of Mettle and even if a player dies, they will receive much more Mettle than they lose (which I will cover shortly.)
HOW MUCH METTLE DO I NEED TO RAISE MY RESISTANCE RANK?
The amount of Mettle a player needs to raise their Resistance Rank varies from level to level. Unfortunately there is no simple answer to this as the amount of Mettle is a bit random for each tier.
Admittedly, I wouldn’t worry too much about how much Mettle you have when you’re simply grinding up your Resistance Rank as players will be notified when they can level up in the Resistance Rank HUD. Players should always take a look at their HUD as their Mettle will glow blue if they have enough to rank up and they will always see how much Mettle they need for the next rank.
Players should also always rank up immediately, even if it costs a Load Stone or a charge of your Return as your Resistance Rank will help provide you with more Mettle upon successfully completing a Critical Engagement or Skrimish.
In case people are interested in what their future holds, the following are all the ranks and the Mettle needed for them:
Rank 1 – 0 Mettle
Rank 2 – 3,00 Mettle
Rank 3 – 1100 Mettle
Rank 4 – 2,200 Mettle
Rank 5 – 3,800 Mettle
Rank 6 – 9,400 Mettle
Rank 7 – 18,000 Mettle
Rank 8 – 32,000 Mettle
Rank 9 – 513,000 Mettle
Rank 10 – 780,000 Mettle
Rank 11 – 106,000 Mettle
Rank 12 – 157,400 Mettle
Rank 13 – 252,000 Mettle
Rank 14 – 416,000 Mettle
Rank 15 – 703,200 Mettle
Rank 16 – 1,124,000 Mettle
Rank 17 – 1,930,000 Mettle
Rank 18 – 2,790,000 Mettle
Rank 19 – 4,435,000 Mettle
Rank 20 – 6,163,000 Mettle
Rank 21 – 8,663,000 Mettle
Rank 22 – 11,471,000 Mettle
Rank 23 – 15,600,000 Mettle
Rank 24 – 20,516,000 Mettle
Rank 25 – 25,870,000 Mettle
When players have enough Mettle to rank up they can head to the Resistance Quartermaster in whatever instance they are in to level up. Players can also find a Resistance Quartermaster in Gangos if they are not in an instance.
WHY DO I KEEP LOSING METTLE?
It can be frustrating, however, after players reach Level 5 Resistance they are at risk of losing Mettle. Now, in many cases this isn’t the biggest problem, but there are some ways to help avoid it.
Players will always lose mettle if they die in battle, though they will lose even more if they respawn versus being revived by another player, so I would strongly recommend that you use /shout Res please <pos> to let people know that you have died so you don’t take more of a Mettle hit.
Admittedly, the amount of Mettle you lose isn’t the most in the grand scheme of things, even if you respawn yourself, meaning that you will probably be able to get your Mettle back relatively quickly.
That being said, if you die in a Critical Engagement, don’t sweat the Mettle lost. Obviously strive to not die and learn mechanics properly, however, the amount of Mettle you receive specifically from Critical Engagements is significantly higher than the amount you lose.
If for whatever reason you are in Bozja alone, die in a battle and are forced to respawn, I strongly recommend waiting until the Skrimish expires so you can make back some of your Mettle. If you’re in a position where you can finish off the Skrimish, this is obviously the better method of ensuring that you don’t miss out on that tasty, tasty Mettle.
It should be noted that players cannot lose Mettle below their current tier, so if you’ve just ascended to the next level you have less of a problem with losing Mettle.
RESISTANCE HONOURS – WHAT YOU DO WITH METTLE AT LEVEL 25
While players may think that they are done grinding after they have hit Level 25 Resistance Rank, the reality is that they are not actually done. Admittedly at first, I thought I wasn’t going to care about Bojza after I completed it and thought I would simply complete the rest of the tasks outside of it, the rewards for continuing to play are actually quite nice.
Essentially, players who continue playing beyond Level 25 are rewarded by getting more healing capabilities, more HP and/or more damage, making farming for experience on your Level 71-80 jobs much more manageable as well as Bozjan Cluster farming easier for those who are trying to get as many of the rewards as possible.
Now, this is going to be a very long grind admittedly, and you’re bound to level up a good portion of your Jobs along the way, but let me tell you that it is very worthwhile to unlock all the Resistance Honours, especially as the players in Bozja continue to decrease.
Beyond Level 25 players will have to trade in 20,000,000 Mettle in order to collect 3 proofs for your Resistance Honours, now there are some catches.
Players will only be rewarded with 3 points at a time and cannot make trades early, meaning that a player will have to do a good amount of Critical Engagements and Skrimishes in order to receive these proofs.
Not only that, but while players can use a single proof of Resistance Honour for the first few upgrades, the requirement increases, making it more of a grind. That being said, take this slow, there is absolutely no rush and in my opinion it’s much better to grind your Level 71-79 Jobs in Bozja than use a Level 80-90 one to simply farm the Honours.
The Resistance Honours go as follows:
Sun of Fortitude – Increases maximum HP.
Sun of Valor – Increases damage dealt.
Sun of Succor – Increases healing potency.
Players will only be able to have 10 points in each, meaning that a player cannot become too overpowered, however, this will really help with players who are forced to solo content due to time of day or if there are simply not enough players interested in the content.
For me, the biggest perk of this is being able to solo mobs quickly that drop Bojzan Clusters as I’m one of the players who wants all of the rewards.
Leave a Reply