When it comes to playing video games I would say that I am not usually extremely loyal to a franchise, though the same cannot be said about Kirby as I am a bit obsessive about the game and have been for quite some time.
Though I haven’t played every single Kirby game in existence, I have played a good portion of them and admittedly always play Kirby in Super Smash Bros.
Upon hearing about the release of Kirby and the Forgotten Land I immediately made a pre-order, being one of the very few games I ever bought in advance.
Admittedly, I even took things as far as putting down all the games I was playing on stream just to play Kirby and the Forgotten Land and let me tell you, I do not regret purchasing this game.
Kirby and the Forgotten Land feels like a very fresh take on the Kirby franchise, introducing a plethora of new abilities to try out, each being able to be upgraded into stronger abilities with higher damage or even different skill sets or ways to use the ability.
Admittedly, the game feels much more difficult that all previous renditions of Kirby games, having me go back to re-complete levels whenever I’ve missed something, which I can’t say I really did in earlier games. The most notable thing to go back for is the hidden Missions that players must complete in order to save the kidnapped Waddle Dees which will unlock new elements to the game, including mini-games and shops.
While each map consists of new puzzles and secrets, one thing can be certain in each: you will have fun!
The following guide takes you through everything you need to know about the Abandoned Beach including all the Missions and the hidden Capsules you’ll be able to find.
CLEAR THE STAGE
As is with all stages in the game, players will get 3 Waddle Dees simply for completing the map. While I always say that any Waddle Dee is good enough, the reality is that players will soon feel a pressure to complete their Missions as the Waddle Dees that are received from these will help them unlock new stages as well as new shops and games they can play to extend the game play.
THE HIDDEN WADDLE DEES
Admittedly, the Waddle Dees in this map are pretty straight forward, though this is coming from a player who tends to explore every nook and cranny of a Kirby game as I’ve gotten used to the mechanics in place.
There are a total of 3 Waddle Dees players must save in the Abandoned Beach.
WADDLE DEE #1
After the Wild Bonkers fight players will soon come to a small island with a pool.
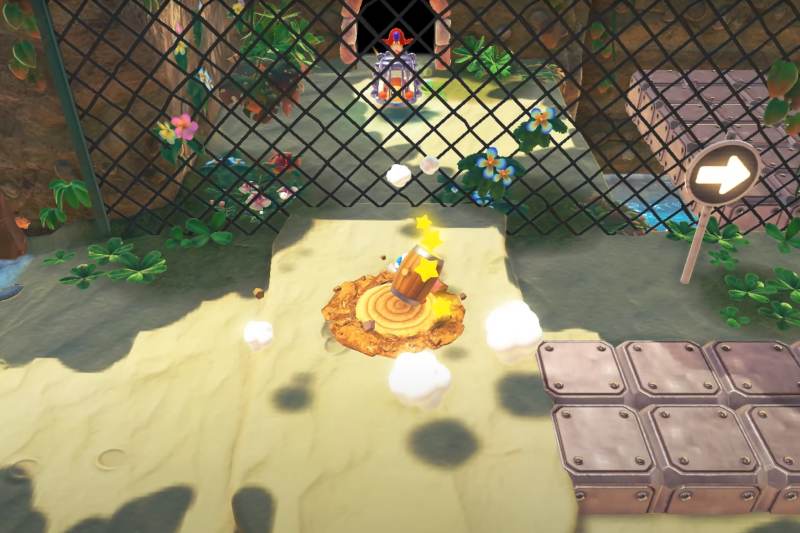
On a rock wall behind it is a ladder. Climb up the ladder and smack the stump with your Hammer ability to reveal the first hidden Waddle Dee in a hidden alcove.
Players should be able to absorb the Hammer skill from a nearby mob, and if they wait long enough this mob should respawn.
WADDLE DEE #2
In the river, just past the first set of swirling whirlpools there will be a cliff on the right hand side you can jump up to.
Hit the stump to open an entrance in the rock wall of the river.
Players will have to the stump inside and race across the falling blocks to reach the second hidden Waddle Dee in time.
If players do not complete this in time they can re-enter this part to rescue the Waddle Dee.
WADDLE DEE #3
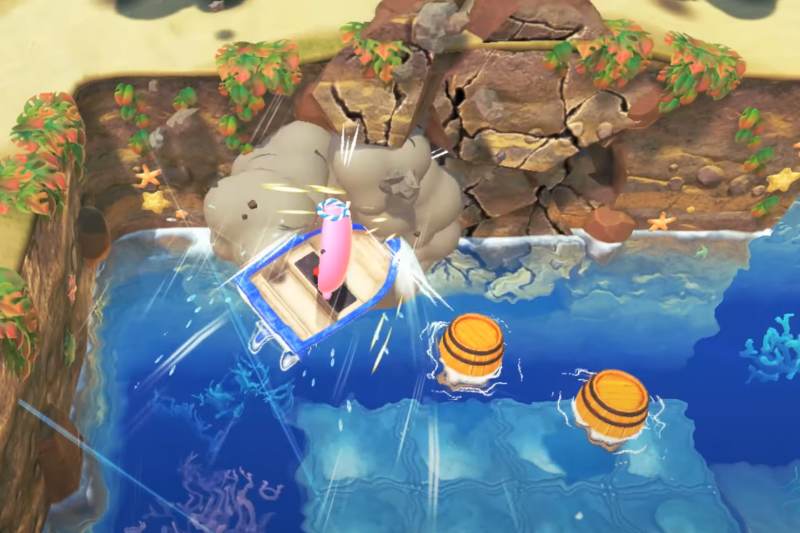
While you’re on the boat using your Mouthful Mode, use a blast boost to smash through this cracked wall on the left hand side of the area and navigate to the back of the island there to save the third hidden Waddle Dee.
Players will have to dismount the boat by sitting near the island.
CRACK OPEN 3 KNOCK-KNOCK NUTS
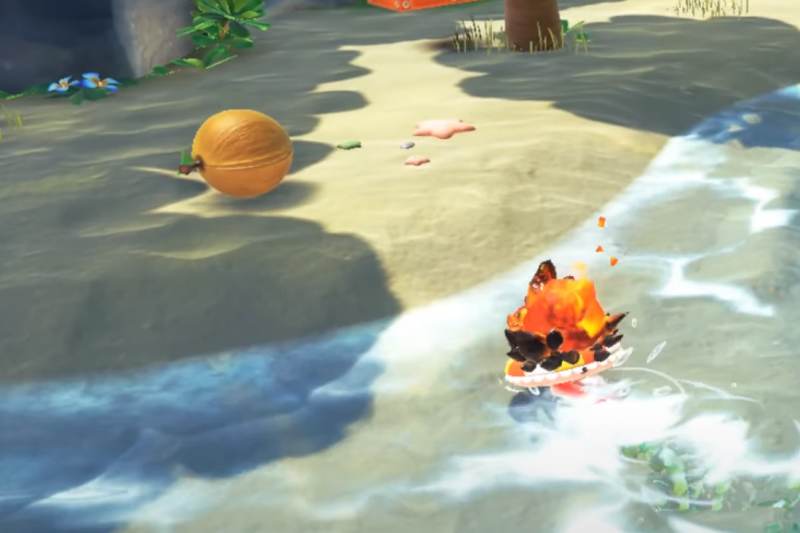
Knock-Knock Nuts might not seem like anything at first and quite frankly I was going to ignore the Knock-Knock Nuts as they were taking a while to break open. I truthfully thought that they were unbreakable and am I ever glad that I took a chance to crack them open!
Players can either use an ability to rapidly hit these Knock-Knock Nuts or can simply use their feet or a spray of water to crack them open. Essentially the more you knock ’em the faster they break!
KNOCK-KNOCK NUT #1
Very early in the level you’ll see the first knock-knock nut on a beach in front of a palm tree. Attack it to break it open before moving on.
KNOCK-KNOCK NUT #2
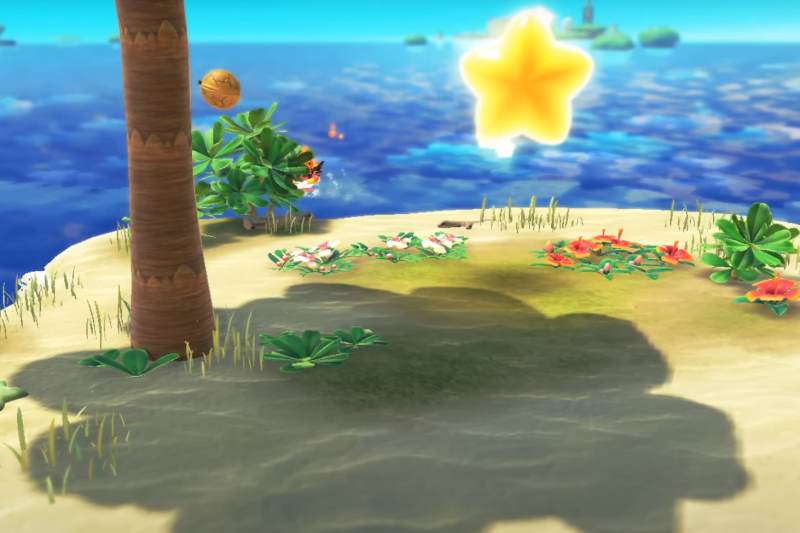
The second knock-knock nut is on this island with the warp star, again underneath a palm tree.
Make sure you get it before taking the star to the next zone. Accidentally kicking it into the water like I did is optional.
KNOCK-KNOCK NUT #3
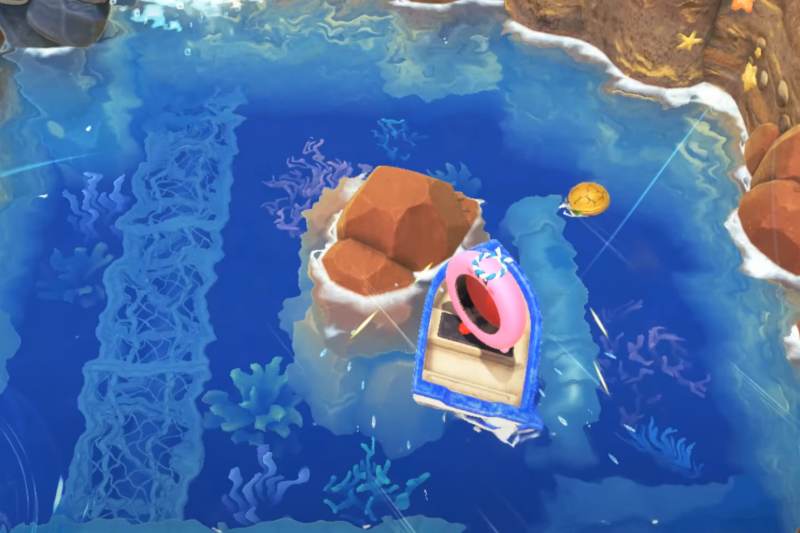
The final knock-knock nut comes much later in the level, floating on the righthand side of the area with the boat. Ramming it a couple times will break it open and complete the mission.
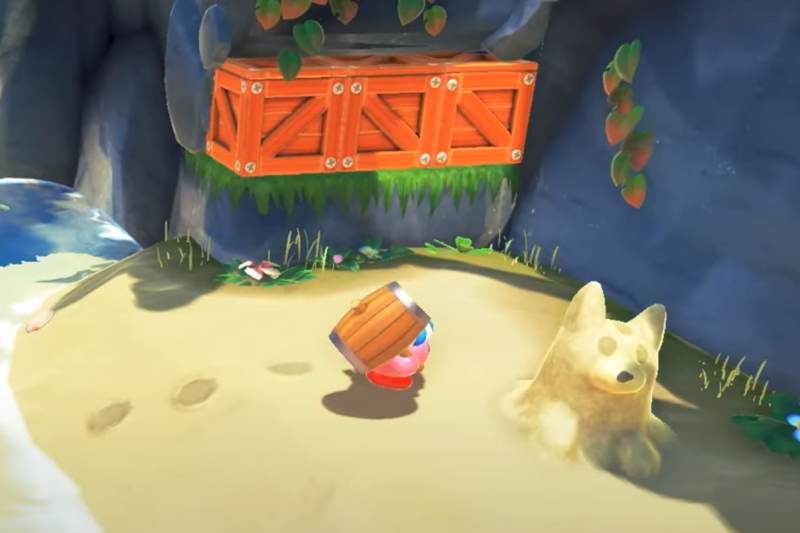
DESTROY THE ANIMAL SAND SCULPTURE
In the area after the Wild Bonkers fight, waaaay over on the right will be a cute little sand sculpture of fox.
It’s a shame but you’ll have to smash it to complete this objective.
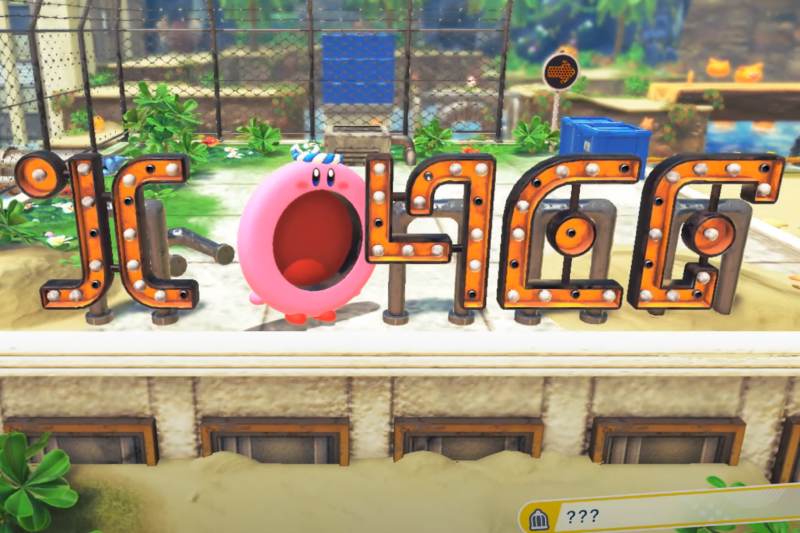
COMPLETE THE SIGN ON THE ROOFTOP
When you load into the zone with the large light sign, you’ll want to absorb the discarded ‘O’ laying on the ground nearby by using your Mouthful Mode.
Before continuing on, simply take a moment to stand in the ‘O’s proper place to complete the sign on the rooftop, and the mission.
Players will not need to spit out the ‘O’ and can simply stand near it. This may take a bit of time to register, though if it does not, keep moving around a bit.
CAPSULE LOCATIONS
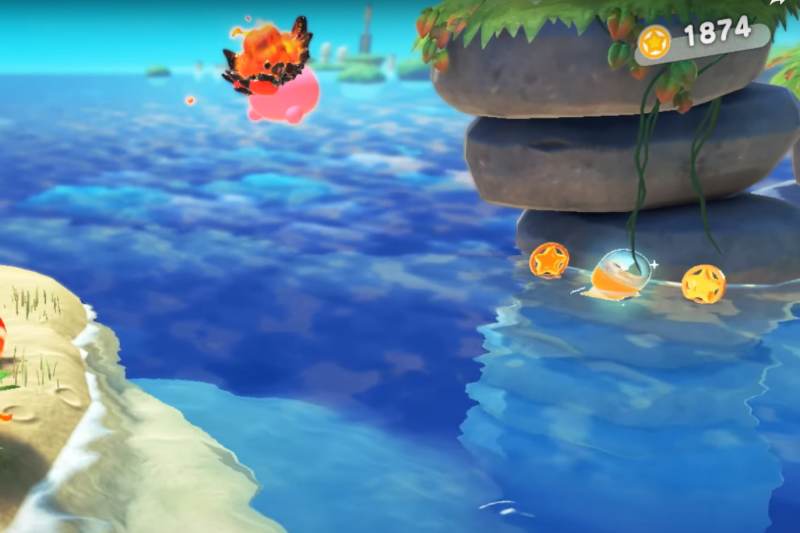
CAPSULE #1
To the right of the island with the warp star, capsule #1 will be floating in the water between two coins.
CAPSULE #2
Past the first set of swirling whirlpools in the river you’ll come to a ladder on the left hand rock wall. Climb it to find the second capsule waiting for you on a narrow cliff.
Leave a Reply